The Perfect Road Trip to Hike Trolltunga and Preikestolen in Norway
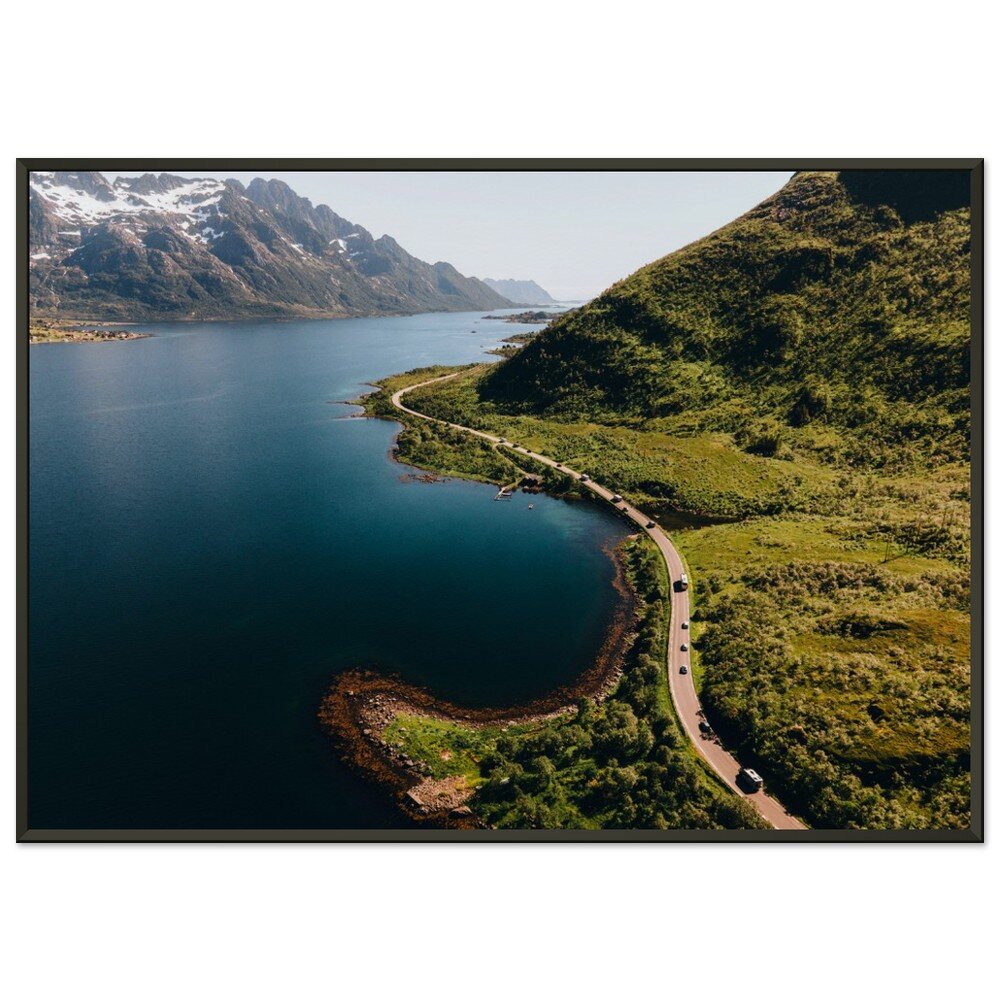
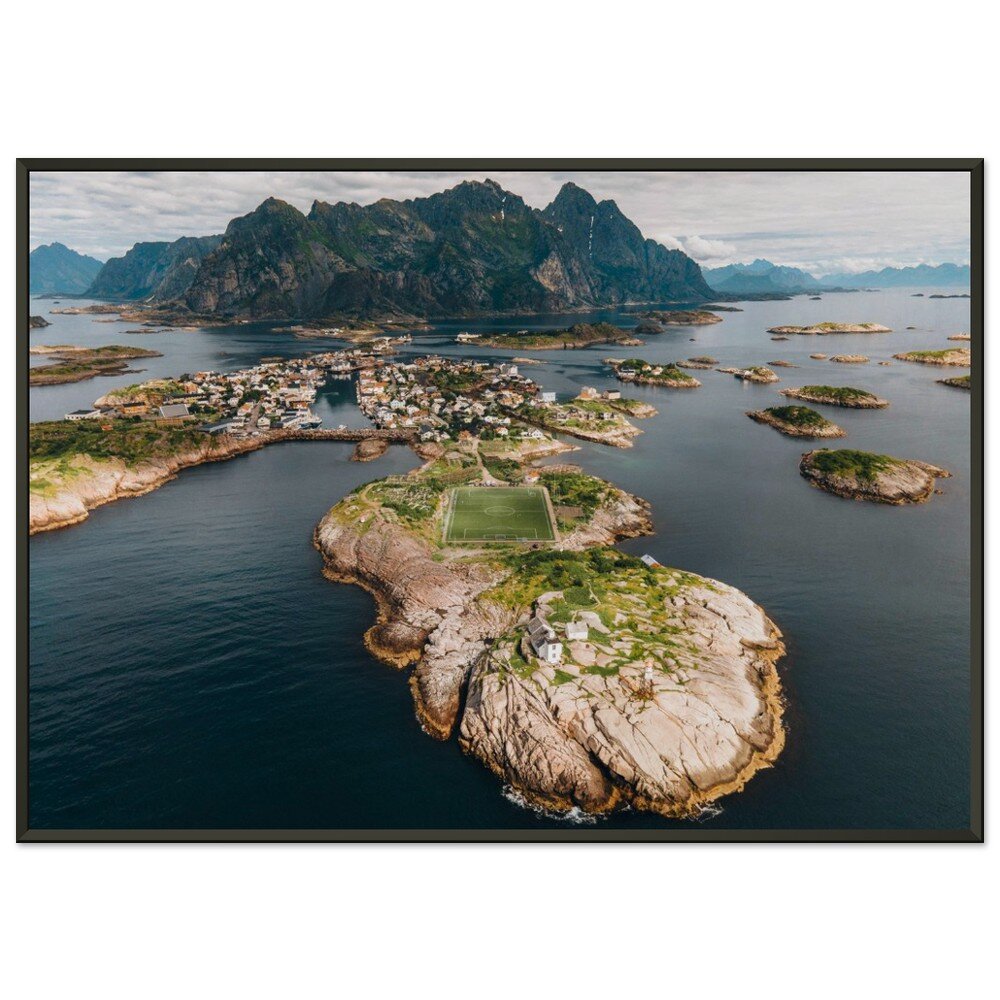
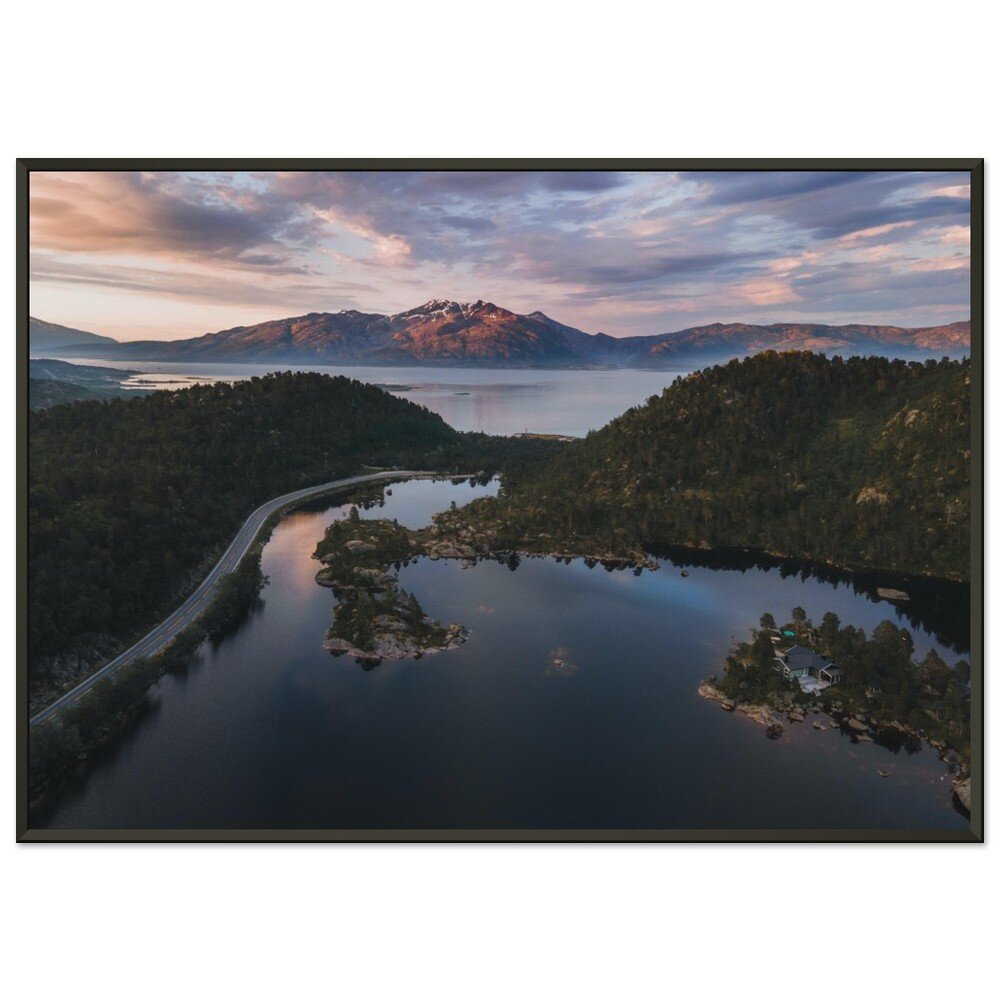
(Some links in this post are affiliate links. If you click through and take action, I'll be compensated.) If you are also interested in any PRINTS from any of my posts, be sure to check out my store where you can buy prints as posters, in metal/wooden frames or on canvas.
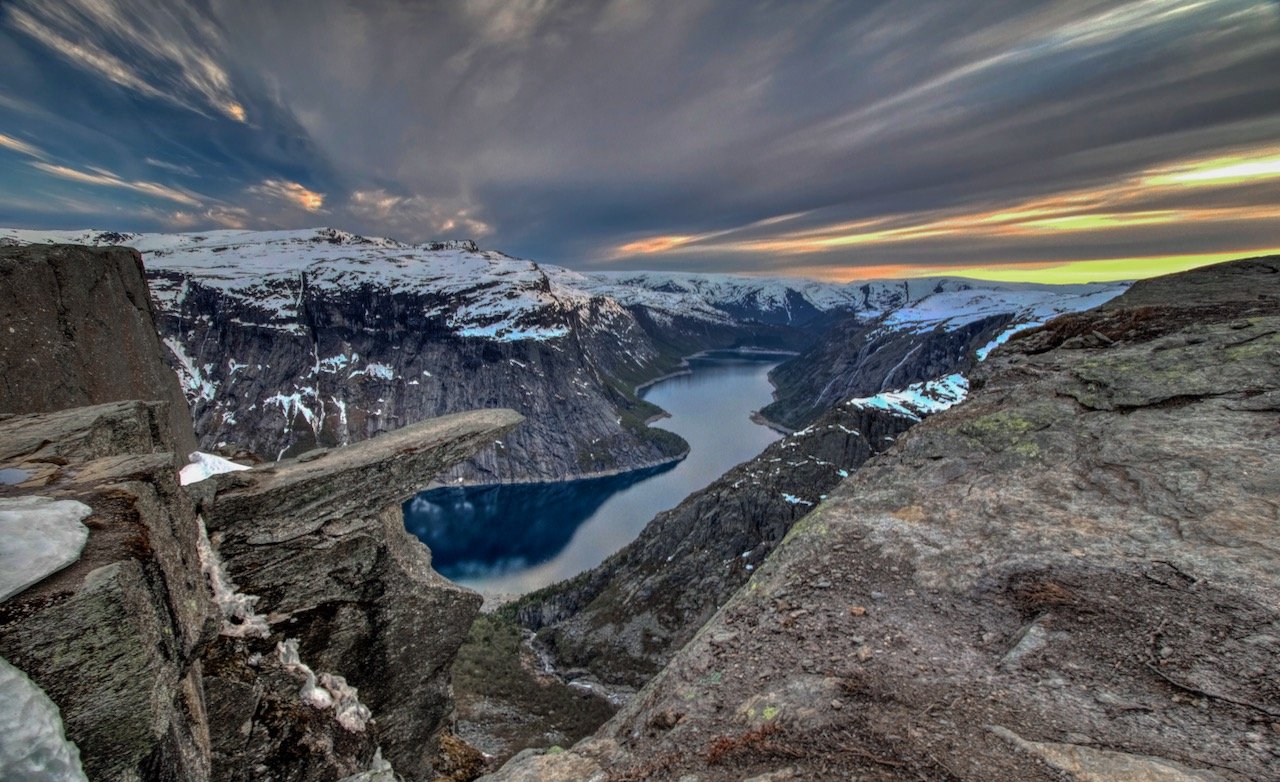
There is no doubt that Norway is one of the best places for the outdoors. The country has some of the best natural landmarks in the world and getting to them may or may not require excellent stamina. Two of the most popular places are Preikestolen/Pulpit Rock (there are many ‘Preikestolens’ in Norway, but the most famous one is located in the Forsand municipality) and Trolltunga, located in Odda municipality. Due to the proximity of Preikestolen to Stavanger airport, and the remote location of Trolltunga, this journey is an excellent candidate for a proper Norwegian road trip. You can find a Google map of the route at the end of this post.
Your best bet to start the trip is to fly into Stavanger International Airport (SVG) and stay there for a night or two before starting the road trip. For great coffee and comfort, go to Bluebird Stavanger. The coffee shop is currently closed for renovations but according to their website, they will open up in the near future.
If the weather is nice, grab your coffee to go and walk through some of the city streets and check out all the street art on display. There are works litered throughout the entire city that is worth seeing. A more or less updated map of the art can be found here.
Getting to Preikestolen from Stavanger is quite easy, it requires a ferry to Tau, and then a drive to Preikestolen Mountain Lodge (Preikestolen Fjellstue) where parking is free. Here you can grab some food before starting your hike to the iconic rock. The pathway is easy marked and the journey takes anywhere from 3-5 hours, depending on your level of fitness. The weather at this time was wet and rainy, so there were only a handful of other people on the paths. By the time we got up to the summit, we weren’t able to see the iconic view that one would get with total sunlight. Even though our view was impeded, this was a great warm up before our more serious hike at Trolltunga.
The drive towards Trolltunga was replete with amazing scenery and gorgeous vistas. Every turn and every bend is photo worthy. If you do stop to take a photo, make sure you are well off the road and don’t stop abruptly, for the sake of the cars behind you.
We arrived in the late afternoon to early evening at Trolltunga Studios, our accommodation for the night. This accommodation was basic, but had all the amenities we needed and was a short drive away from the base of the hike. It’s situated right on the water with excellent views of Odda.
With some prior research, my friend Shiraz and I had planned to camp out overnight at Trolltunga. Camping out is not allowed unless it’s with a guide from a licensed commercial entity, such as Trolltunga Active.
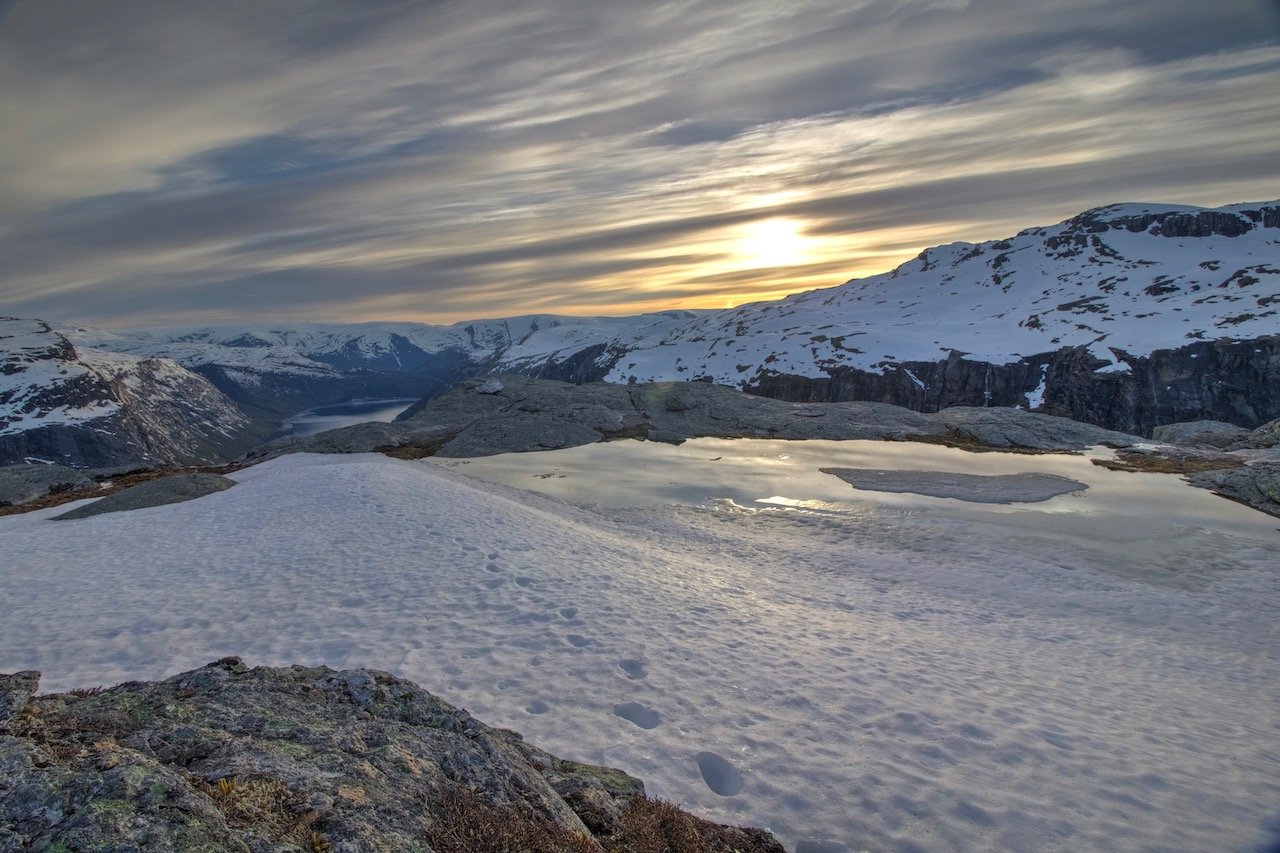
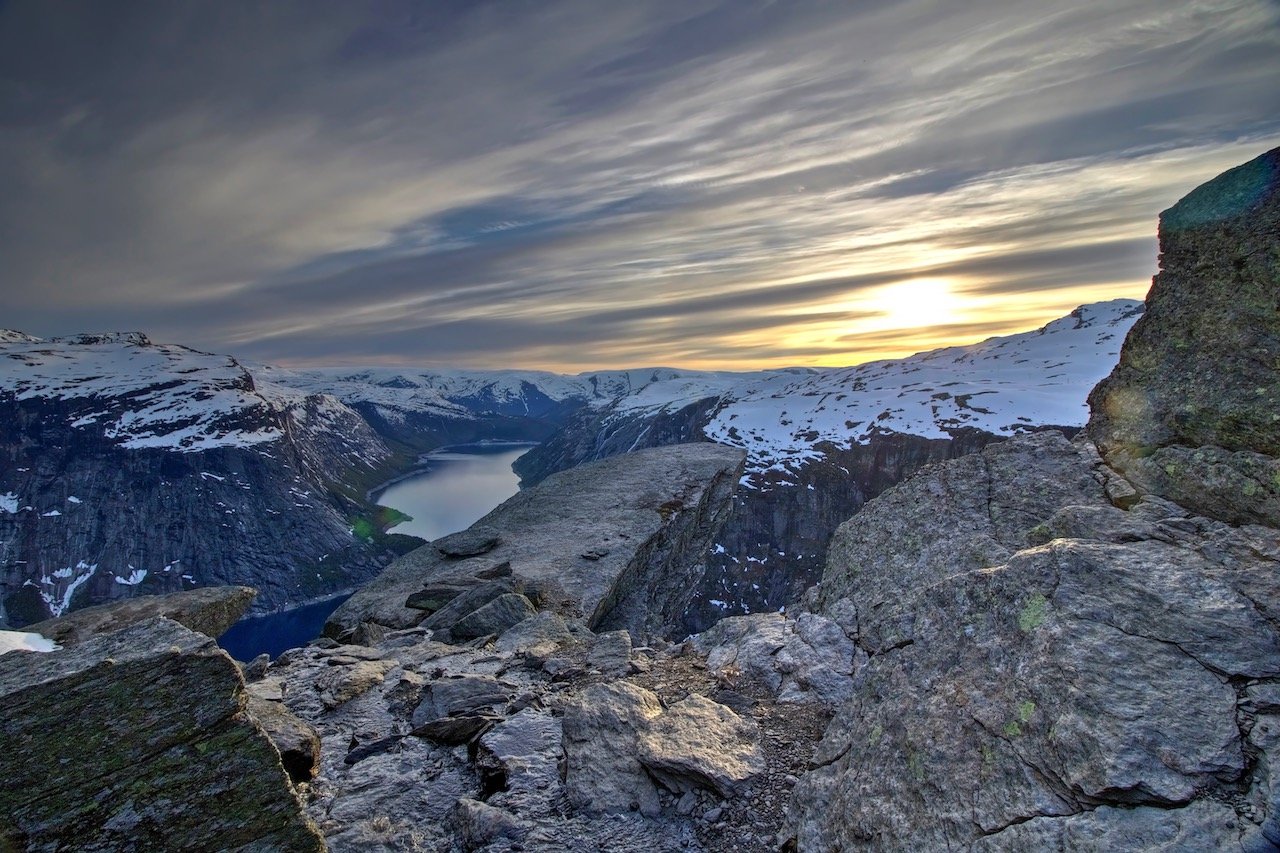
This gave us the flexibility of starting our hike in the afternoon as opposed to early morning, since we didn’t have to ascend and descend in the same day. Secondly (and most importantly), we would arrive to the rock when everyone else had left, giving us hours to do what we wanted while on Trolltunga.
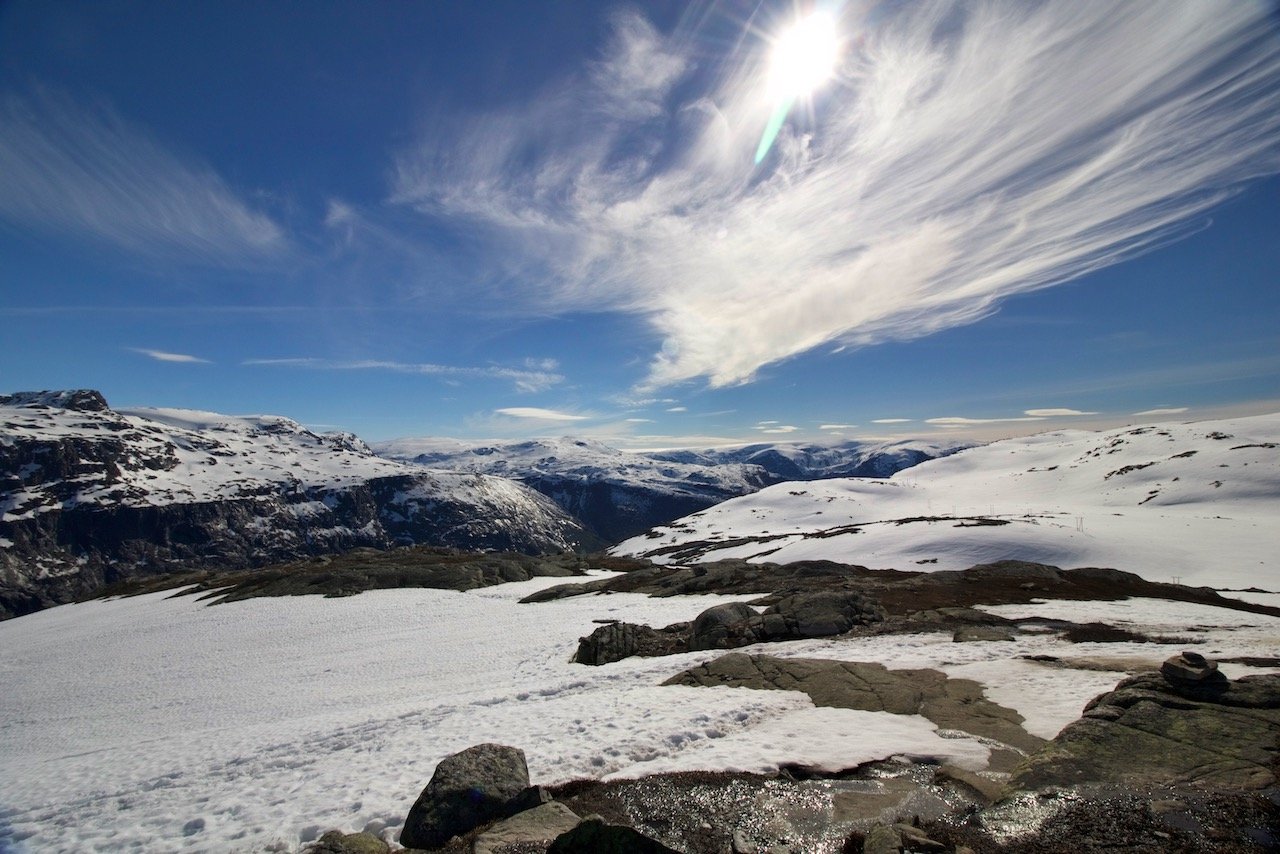
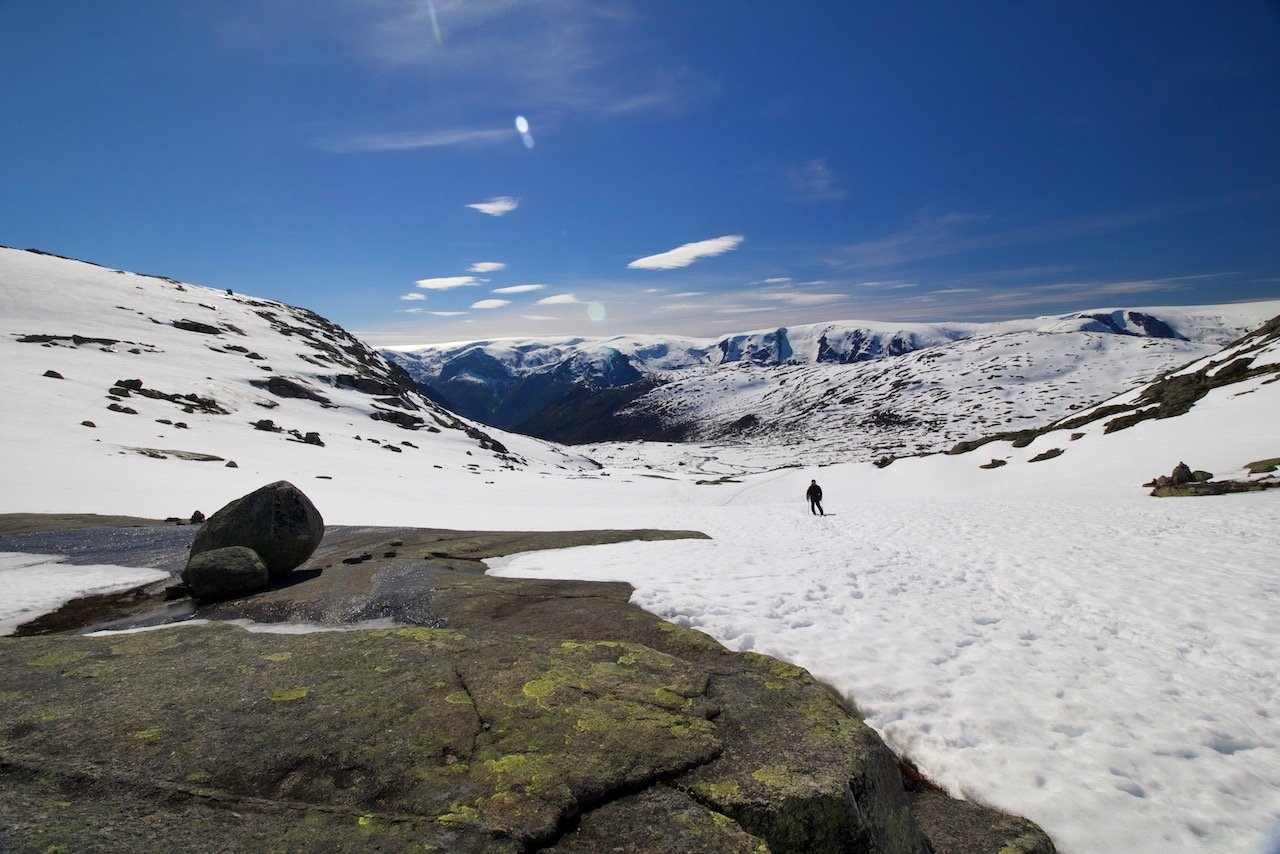
On our hike up to Trolltunga, we passed hundreds of hikers, going back to our starting point. At this point, it became very clear that this hike has increased in popularity over the years and if we had made this a single day venture, we would have to wait in a line at the rock itself just for a photo. Therefore, it is worth it to spend the extra money to camp overnight for unimpeded views and uninhibited access to the area.
If you like some of my photos that you have come across, just know that I have many prints showcasing a variety of Norwegian landscapes, available for purchase below! (Sold as Posters, Canvas, or in Metal-Frames and Wooden-Frames).
